ACL Treatment: What Recovery Actually Requires
An ACL injury can completely change the trajectory of an athlete’s season, training, or confidence in movement. Whether it happens during a non-contact pivot, awkward landing, or sudden change of direction, the injury is often both physically and mentally overwhelming.
And once the initial shock wears off, most people immediately start asking the same questions:
Do I need surgery?
How long will recovery take?
Will I ever feel normal again?
What does good ACL treatment actually look like?
The truth is that effective ACL treatment is about much more than simply healing the ligament. Long-term recovery depends on restoring movement quality, strength, coordination, confidence, and the ability to handle sport-specific demands again.
This article will break down what ACL injuries are, how ACL treatment physical therapy works, and what actually matters during recovery.
What Is the ACL?
The ACL, or anterior cruciate ligament, is one of the major stabilizing ligaments in the knee.
Its primary role is helping control rotational movement and preventing excessive forward movement of the shin bone relative to the thigh bone.
The ACL becomes especially important during athletic activities involving:
Cutting
Pivoting
Jumping
Rapid deceleration
Change of direction
Because of these demands, ACL injuries are particularly common in sports like soccer, basketball, football, lacrosse, skiing, and volleyball.
How ACL Injuries Happen
Many people assume ACL tears happen through direct contact, but a large percentage are actually non-contact injuries.
Common mechanisms include:
Planting and twisting
Landing awkwardly from a jump
Sudden deceleration
Rapid change of direction
These moments place high rotational and directional stress through the knee.
Often, the injury is not caused by one isolated factor. It is usually a combination of movement mechanics, load, fatigue, and the body’s ability to control force in demanding positions.
Common Symptoms of an ACL Injury
Symptoms of an ACL tear can vary, but some of the most common signs include:
A popping sensation during injury
Immediate swelling
Instability or “giving out”
Difficulty changing direction
Pain with weight-bearing
Some people regain basic walking relatively quickly, while others continue to feel unstable with higher-level activity.
Does Every ACL Tear Require Surgery?
One of the first questions many athletes ask is whether surgery is necessary.
The answer depends on several factors, including:
Sport demands
Activity goals
Degree of instability
Associated injuries
Individual movement quality and strength
For athletes involved in cutting and pivoting sports, surgery is often recommended to restore stability for high-level activity.
However, not every ACL tear automatically requires surgery.
Some individuals are able to function well with structured rehabilitation alone, especially if their activity demands are lower.
Regardless of whether surgery occurs, physical therapy remains one of the most important parts of recovery.
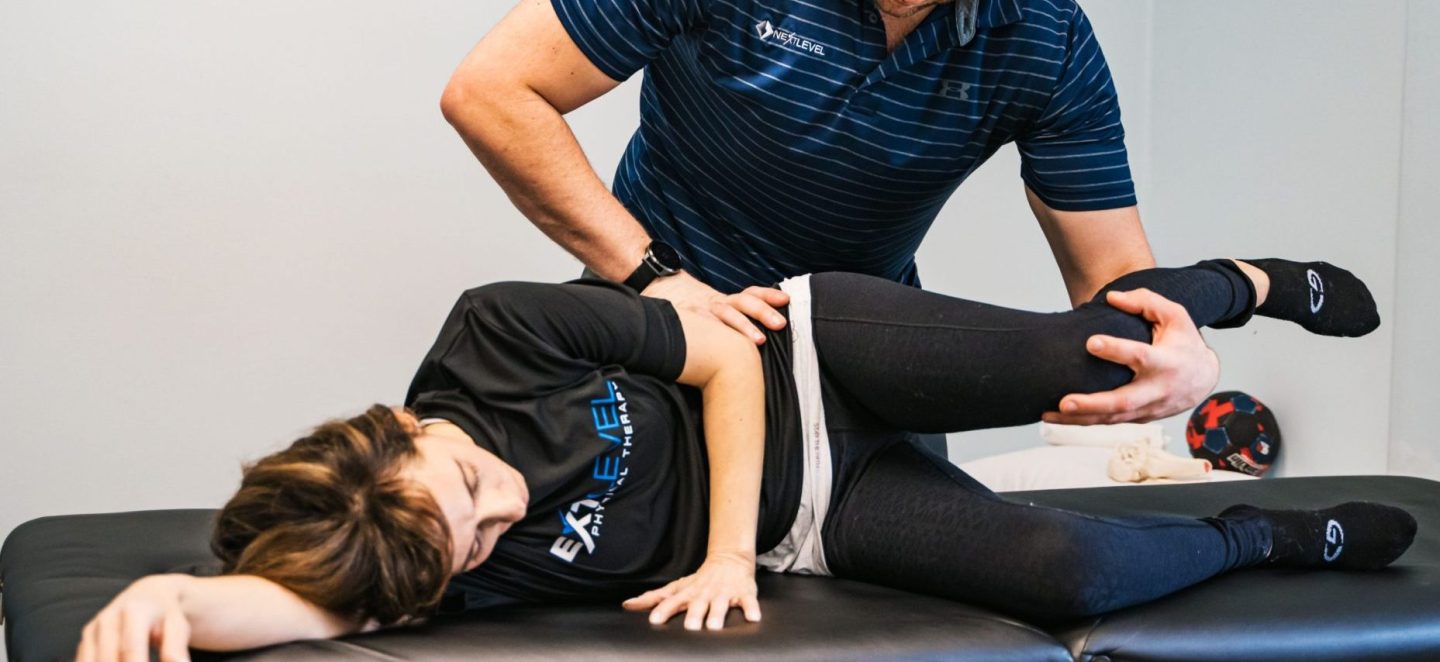
Why ACL Treatment Is About More Than the Knee
One of the biggest mistakes in ACL rehab is focusing only on the knee itself.
Yes, restoring knee strength and motion matters. But the body moves as a system.
Hip control, trunk positioning, ankle mechanics, coordination, and movement patterns all influence how force moves through the knee.
If those factors are ignored, the athlete may technically “heal” but still move inefficiently when they return to sport.
This is one reason re-injury rates remain high in athletes who return before restoring full movement quality and capacity.
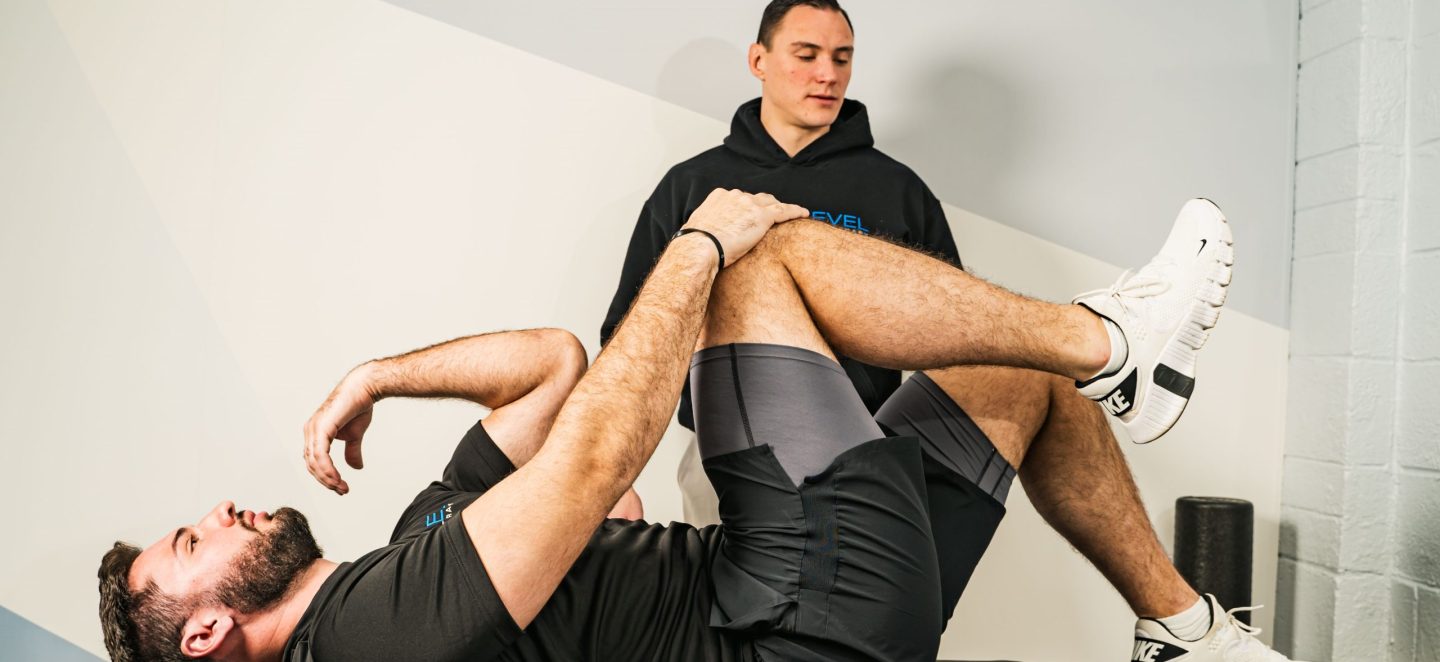
The Different Phases of ACL Treatment Physical Therapy
Good ACL rehab follows a progression. Each phase builds on the previous one.
Phase 1: Managing Pain and Swelling
Early rehab focuses on calming the knee down and restoring basic movement.
Goals usually include:
Reducing swelling
Restoring knee extension
Improving walking mechanics
Re-establishing quadriceps activation
This phase is important because early deficits in motion or strength can affect later recovery.
Phase 2: Restoring Range of Motion and Basic Strength
As symptoms improve, rehab progresses into rebuilding foundational movement.
This often includes:
Controlled strength work
Balance training
Hip and core strengthening
Movement coordination drills
The focus is not just on isolated exercises, but on restoring quality movement patterns.
Phase 3: Building Strength and Capacity
As the athlete progresses, loading increases.
This phase often includes:
Strength training
Single-leg stability work
Force production exercises
Progressive loading strategies
The goal is building the body’s ability to tolerate higher levels of stress safely.
Phase 4: Plyometrics and Return-to-Sport Progressions
This phase bridges the gap between basic rehab and actual athletic performance.
Exercises become more dynamic and sport-specific.
This may include:
Jumping and landing drills
Cutting mechanics
Acceleration and deceleration work
Reactive movement training
The goal is not just to “clear” the athlete, but to prepare them for the unpredictable demands of sport.
The Mental Side of ACL Recovery
ACL recovery is not purely physical.
Many athletes struggle with fear of reinjury, hesitation during movement, or lack of confidence returning to competition.
This is normal.
One of the biggest parts of effective sports injury and physical therapy is helping athletes rebuild trust in their body again.
Confidence often improves gradually as movement quality, strength, and exposure to sport-specific tasks improve.
This is why good rehab is progressive. The athlete needs opportunities to safely rebuild capacity and confidence over time.
Why Return-to-Sport Testing Matters
One major issue in ACL rehab is returning athletes to sport too early.
Just because pain is gone does not mean the body is fully prepared.
Effective return-to-sport testing often includes:
Strength symmetry testing
Jump and landing mechanics
Movement quality assessment
Change-of-direction control
Sport-specific demands
This helps identify lingering deficits that may increase reinjury risk.
Why Generic ACL Rehab Often Falls Short
Many rehab programs focus heavily on timelines instead of the athlete in front of them.
But ACL recovery is not one-size-fits-all.
Two athletes may both be six months post-op and move completely differently.
One may have excellent strength and coordination. Another may still compensate heavily through the hips, trunk, or opposite leg.
This is why individualized sports medicine physical therapy matters.
The goal is not just checking boxes. It is restoring the athlete’s ability to move efficiently and confidently under real-world demands.
How Movement Quality Influences ACL Recovery
Movement quality is one of the most overlooked parts of ACL treatment.
If the athlete returns to sport with poor force absorption, poor landing mechanics, or asymmetrical movement patterns, the knee may continue to experience unnecessary stress.
This is where movement-focused rehab becomes essential.
Improving how the body controls rotation, absorbs force, and transitions through movement can make a major difference in long-term outcomes.
What Athletes Should Focus on During Recovery
One of the biggest mindset shifts during ACL rehab is understanding that recovery is not just about getting back to baseline.
It is an opportunity to rebuild the body more efficiently and more resiliently.
That means focusing on:
Movement quality
Strength development
Load management
Coordination
Confidence
These factors matter just as much as healing the ligament itself.
Finding the Right Support During ACL Recovery
If you are searching for sports physical therapy near me, it is important to find a provider who understands the full process of athletic rehabilitation.
ACL rehab should not stop at reducing pain or restoring basic movement.
Good sports injury and physical therapy should prepare you for the actual demands of your sport and help reduce your risk of future injury.
The best sports medicine physical therapy programs focus on restoring movement quality, strength, coordination, and confidence together.
And when done correctly, ACL treatment physical therapy can help athletes return not just to participation, but to high-level performance.
Need Help With ACL Recovery?
At Next Level Physical Therapy, we take a movement-based approach to ACL rehab that goes beyond basic recovery timelines.
Our goal is to help athletes restore strength, movement quality, confidence, and long-term resilience so they can safely return to the activities and sports they love.
Whether you are early after injury, post-surgery, or preparing for return to sport, our team can help guide the process.
Request an appointment here to learn more about our approach to ACL treatment and sports rehabilitation.
Read More