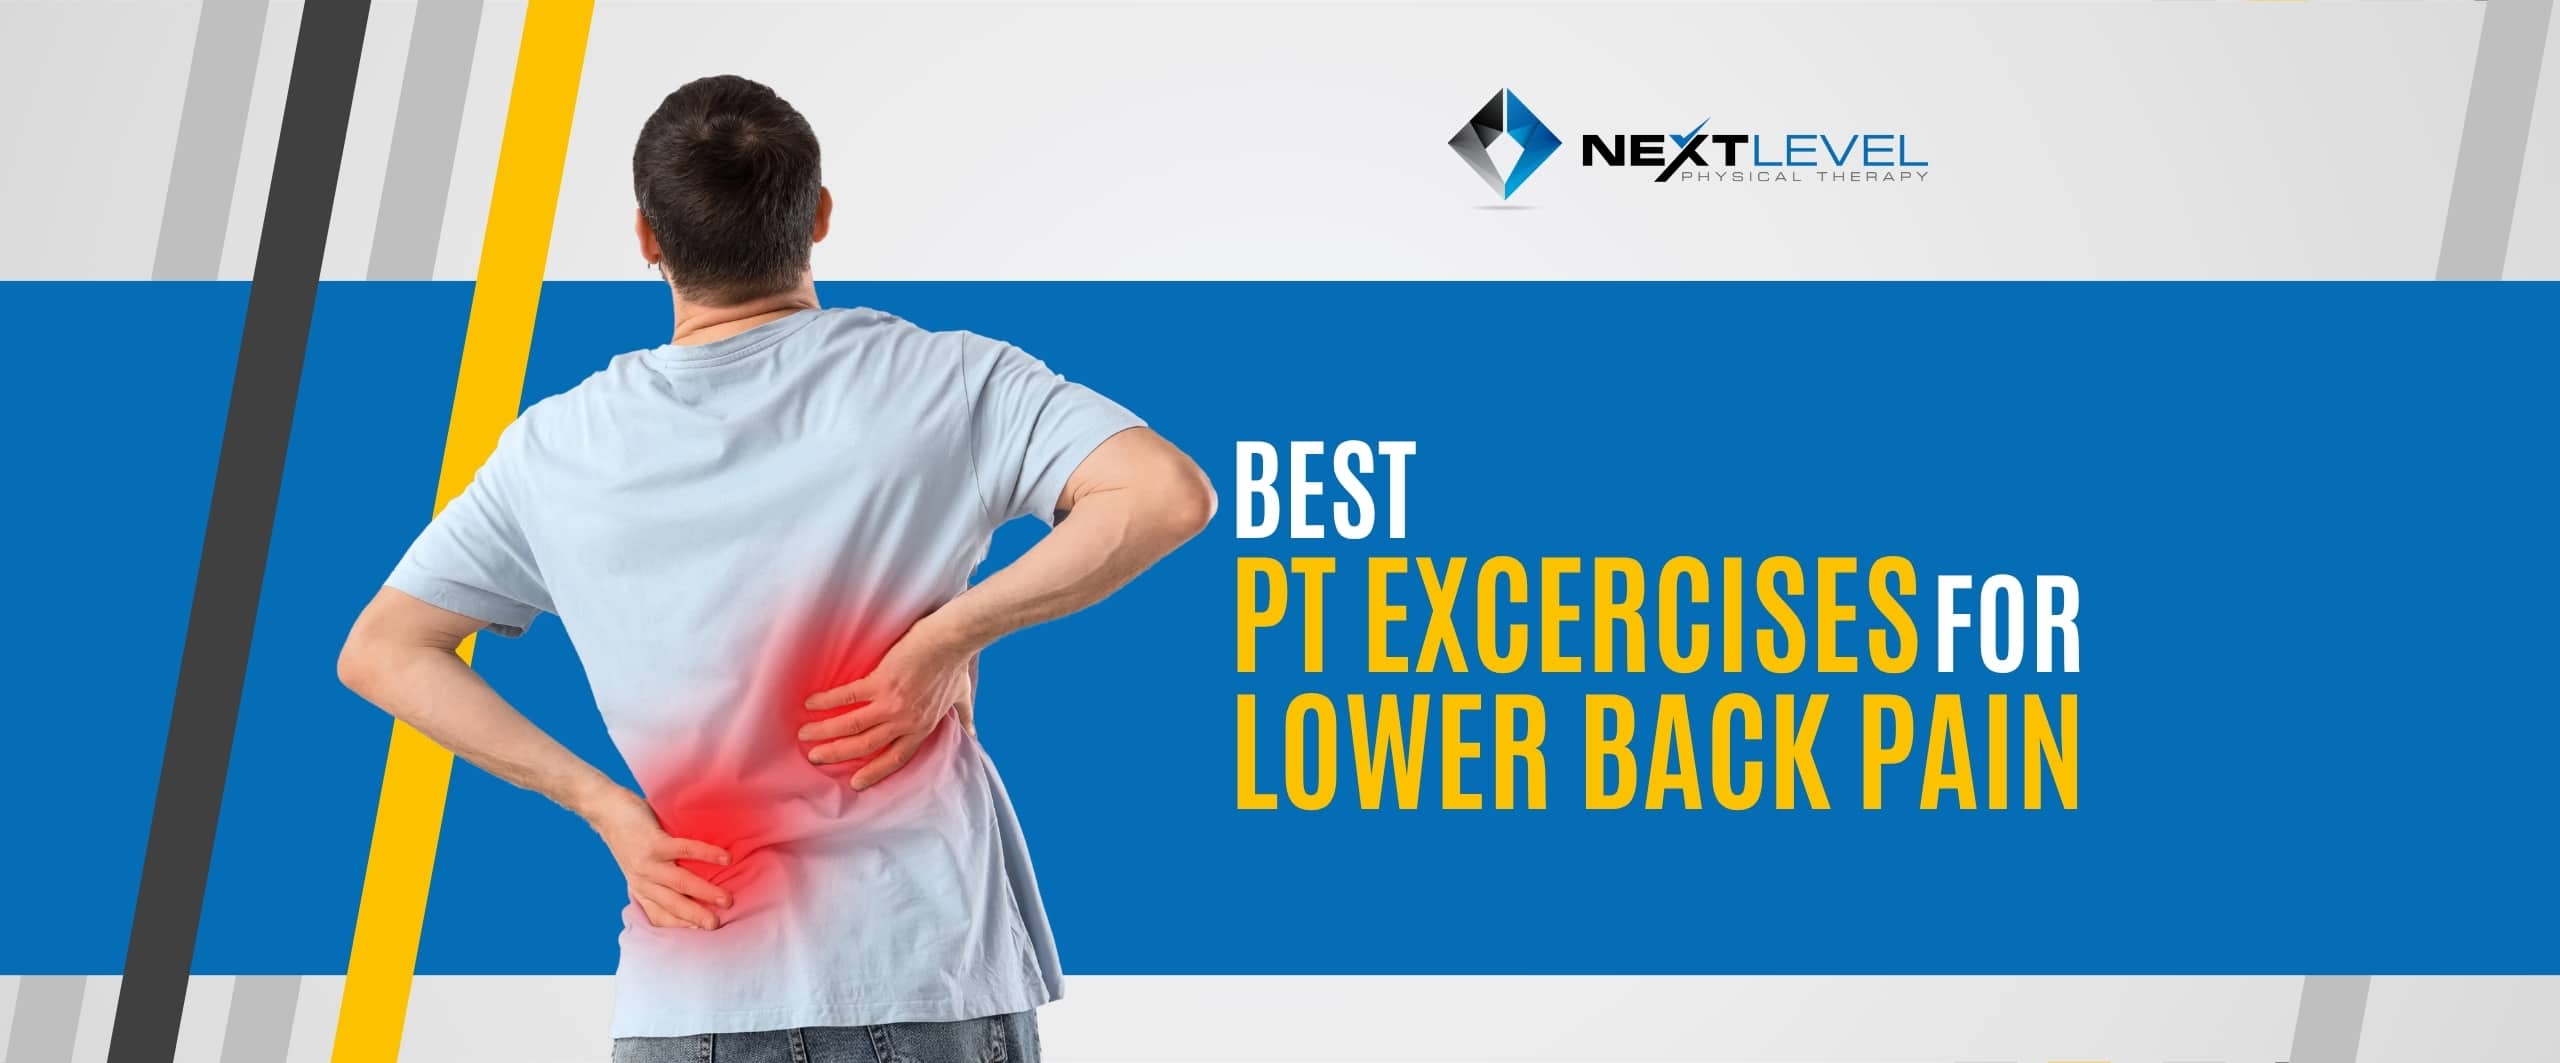
How Sleep Affects Injury Recovery and Athletic Performance
Sleep and muscle recovery are closely connected, but sleep is often the first thing active adults and athletes sacrifice when life gets busy.
People will spend hours planning workouts, tracking sets, buying recovery tools, and searching for the perfect rehab exercise. But if sleep is consistently poor, the body has a much harder time adapting to training, repairing tissue, managing pain, and recovering from injury.
That does not mean one bad night of sleep ruins your progress. The body is resilient. But when poor sleep becomes the norm, recovery becomes harder than it needs to be.
For athletes, gym-goers, runners, and active adults, sleep is not just a wellness habit. It is part of the training process. It influences strength, power, endurance, coordination, motivation, pain sensitivity, and how well your body responds to physical therapy or rehab.
In this article, we will break down how sleep affects injury recovery and athletic performance, why sleep and muscle recovery matter so much, what happens when you train hard but sleep poorly, and how to improve sleep habits in a realistic way.
Why Sleep Matters for Active Adults and Athletes
Most people think about training as the work they do in the gym, on the field, or during a run.
But training is only one part of the process.
The workout creates stress. Recovery is when the body adapts to that stress.
When you lift weights, run, practice a sport, or complete rehab exercises, you are challenging muscles, tendons, joints, the nervous system, and the cardiovascular system. Those tissues and systems need time and resources to recover.
Sleep is one of the most important resources in that process.
During sleep, the body supports tissue repair, hormone regulation, nervous system recovery, immune function, and energy restoration. These processes are essential for both injury recovery and athletic performance.
If sleep is consistently poor, the body may still recover, but it often does so more slowly and less efficiently.
Sleep Is When Adaptation Happens
Workouts do not make you stronger by themselves.
Workouts create the stimulus for adaptation. Your body becomes stronger, more powerful, more durable, and more conditioned when it recovers from that stimulus.
This is why recovery matters so much.
If you train hard but do not recover well, the body may struggle to adapt. Instead of feeling stronger over time, you may feel sore, tired, stiff, irritable, or stuck at the same level.
For someone recovering from an injury, this matters even more.
Rehab exercises are designed to gradually rebuild strength, improve movement, and increase tissue tolerance. But if sleep is poor, the body may not respond as well to that plan.
Sleep does not replace good rehab. But poor sleep can make good rehab less effective.
How Sleep Supports Muscle Recovery
Muscle recovery is not just about soreness going away.
True recovery means the body is repairing tissue, restoring energy, regulating stress, and adapting to the demands placed on it.
Sleep supports this process in several important ways.
Tissue Repair
Training creates small amounts of stress and damage in muscle tissue. This is a normal part of adaptation, especially after strength training, speed work, or hard conditioning.
During recovery, the body repairs that tissue and builds it back stronger.
Sleep provides time for these repair processes to occur. When sleep is consistently shortened or disrupted, the body may have less opportunity to complete the recovery work it needs.
Hormonal Regulation
Sleep plays an important role in regulating hormones involved in recovery, stress, appetite, and energy.
For active adults, this matters because hormonal balance helps support training adaptation, muscle recovery, and overall readiness.
Poor sleep can make it harder for the body to manage stress and recover from demanding workouts.
Protein Synthesis and Adaptation
Muscle recovery depends on the body’s ability to repair and rebuild tissue.
Nutrition is important in this process, but sleep also plays a major role. Even if protein intake is strong, poor sleep can make it harder for the body to recover and adapt optimally.
This is one reason athletes who train hard but sleep poorly often feel like they are doing everything right but still not progressing.
Nervous System Recovery
Muscle recovery is not only a muscular process. The nervous system also needs recovery.
Your nervous system helps coordinate movement, produce force, react quickly, and control technique under fatigue.
When sleep is poor, coordination, reaction time, focus, and movement quality can suffer. This can affect both performance and injury risk.
Inflammation and Immune Function
Inflammation is part of the normal healing process, but the body needs to regulate it well.
Sleep helps support immune function and recovery regulation. When sleep is consistently poor, the body may have more difficulty managing inflammation and recovering from physical stress.
How Sleep Affects Injury Recovery
Injury recovery is not just about the injured tissue.
It also depends on the entire system supporting that tissue. This includes sleep, nutrition, stress, movement, strength, circulation, and how consistently someone can follow a rehab plan.
Sleep affects injury recovery in several ways.
Sleep Supports Healing Capacity
When the body is injured, it needs energy and resources to repair.
Poor sleep can make recovery feel slower because the body is not getting enough restorative time. This does not mean an injury cannot heal if sleep is imperfect, but consistently poor sleep may make the process more difficult.
For muscle strains, tendon irritation, joint pain, and post-surgical recovery, sleep quality can influence how well the body tolerates rehab and progresses over time.
Sleep Influences Pain Sensitivity
Pain is not only a tissue signal. It is also influenced by the nervous system.
When sleep is poor, the nervous system may become more sensitive. That means pain can feel more intense, last longer, or flare more easily.
This is one reason people often notice that pain feels worse after a stressful week or several poor nights of sleep.
The injury itself may not have suddenly become worse. The body may simply be less recovered and more sensitive.
Sleep Affects Rehab Consistency
Rehab requires consistency.
To recover from an injury, you often need to complete exercises, modify activity, progress loading, and make daily decisions that support healing.
When sleep is poor, motivation drops. Energy drops. Decision-making becomes harder. It is easier to skip exercises, push too hard, or abandon the plan too soon.
Sleep helps create the physical and mental bandwidth needed to stay consistent.
Sleep Helps the Body Tolerate Loading
Injury recovery usually requires progressive loading.
This means gradually challenging the injured area so it can rebuild strength, capacity, and confidence.
If sleep is poor, the body may tolerate loading less effectively. Exercises that felt manageable one day may feel harder the next. Symptoms may flare more easily. Recovery between rehab sessions may take longer.
This does not mean the plan is wrong, but it may mean recovery variables need to be addressed.
How Sleep Affects Athletic Performance
Sleep does not only matter when someone is injured. It also directly affects athletic performance.
Many athletes focus heavily on training intensity, programming, equipment, and supplements. But sleep may be one of the most powerful performance tools available.
Strength and Power
Strength and power depend on both muscular and nervous system readiness.
If you are under-recovered, it can be harder to produce force, maintain technique, and perform at high intensity.
This can show up as a weaker lift, slower sprint, lower jump, or reduced explosiveness during sport.
Reaction Time and Coordination
Sleep affects how quickly and accurately the body responds.
For athletes, that matters during cutting, jumping, landing, throwing, catching, reacting to opponents, and making split-second decisions.
Poor sleep can reduce sharpness and coordination, which may increase the likelihood of sloppy mechanics under pressure.
Endurance
Endurance performance depends on energy, pacing, perceived effort, and the ability to tolerate fatigue.
When sleep is poor, workouts often feel harder at the same intensity. A pace that usually feels comfortable may feel unusually difficult. A long run may feel more draining than expected.
This can make athletes question their fitness when the real issue may be recovery.
Decision-Making
Athletic performance is not only physical.
It also requires focus, awareness, and decision-making.
When sleep is poor, athletes may make slower decisions, take unnecessary risks, or struggle to stay focused during training and competition.
Motivation and Perceived Effort
Poor sleep can make everything feel harder.
You may still complete the workout, but the effort feels higher. You may feel less motivated to warm up properly, lift with good intent, or complete accessory work and recovery tasks.
Over time, this can affect training consistency.
What Happens When You Train Hard but Sleep Poorly?
Many active adults try to outwork poor recovery.
They add more workouts, more mobility, more stretching, more supplements, or more intensity. But if sleep remains poor, the body may continue to struggle.
Training hard with poor sleep can lead to several problems.
More Soreness
When sleep is poor, soreness may feel stronger or last longer.
This does not always mean the workout was too hard, but it may mean your body had less recovery capacity afterward.
Lower Performance
You may notice slower progress in the gym, reduced running performance, lower energy during training, or difficulty maintaining intensity.
This can be frustrating because effort remains high, but output drops.
Worse Movement Quality
Fatigue affects coordination.
When you are under-recovered, your body may rely on compensations more quickly. Technique may break down earlier in a session. You may feel less stable, less explosive, or less connected during movement.
For someone already managing pain, this can increase irritation.
Reduced Training Adaptation
The goal of training is adaptation.
If recovery is poor, adaptation may be limited. Instead of building strength, endurance, and resilience, the body may stay in a cycle of fatigue and under-recovery.
Higher Injury Risk Over Time
Poor sleep does not guarantee injury, but it can contribute to risk over time.
When athletes are tired, sore, less coordinated, and slower to recover, training stress can accumulate faster than the body can adapt.
This can increase the chance of pain, overload, or recurring injuries.
Sleep and Pain: Why Symptoms Can Feel Worse When You Are Tired
Pain often feels worse when you are exhausted.
This is not imaginary.
Sleep affects how the nervous system processes pain. When you are under-slept, the body may become more sensitive to signals that would normally feel manageable.
This is why a stiff back, sore knee, irritated shoulder, or healing muscle strain may feel more intense after a poor night of sleep.
The important takeaway is that pain flare-ups are not always caused by new damage. Sometimes they reflect a nervous system and body that are not fully recovered.
This is one reason a complete recovery plan should look at more than exercises.
Common Sleep Issues for Active Adults
Many active adults know sleep matters, but still struggle to get enough of it.
Some of the most common sleep challenges include stress, inconsistent schedules, late workouts, caffeine timing, screen use, and pain that interrupts sleep.
Stress and Mental Load
Stress can make it harder to fall asleep and stay asleep.
Even if the body is physically tired, the mind may stay active. This can affect sleep quality and leave you feeling less restored the next day.
Late Workouts
Some people train late because it is the only time available.
Late workouts are not automatically bad, but high-intensity training close to bedtime can make it harder for some people to wind down.
If sleep suffers after late training, it may help to adjust intensity, timing, cooldown routines, or evening habits.
Caffeine Timing
Caffeine can support performance, but it can also interfere with sleep if used too late in the day.
Some people metabolize caffeine quickly, while others remain sensitive for many hours.
If falling asleep is difficult, caffeine timing is one of the first things to review.
Inconsistent Sleep Schedule
Changing sleep and wake times dramatically from day to day can make sleep feel less predictable.
A consistent routine helps the body understand when it is time to wind down and when it is time to be alert.
Screen Use and Stimulation
Phones, laptops, and television can keep the mind engaged late into the evening.
The issue is not only light exposure. It is also stimulation, work emails, social media, news, and content that keeps the brain active.
Pain That Interrupts Sleep
Pain can make sleep difficult, especially if symptoms worsen when lying down, changing positions, or staying still.
When pain disrupts sleep, recovery becomes more challenging because pain affects sleep and poor sleep can increase pain sensitivity.
Breaking that cycle often requires addressing both the pain source and sleep environment.
Practical Sleep Strategies for Better Recovery
Improving sleep does not have to mean creating a perfect routine.
For most active adults, the goal is to make sleep more consistent and more supportive of recovery.
Keep a Consistent Sleep and Wake Time
Consistency helps regulate the body’s rhythm.
You do not need to be perfect every night, but keeping sleep and wake times reasonably consistent can improve sleep quality over time.
Create a Wind-Down Routine
The body often needs a transition between the stress of the day and sleep.
A simple wind-down routine may include light stretching, breathing work, reading, journaling, or quiet time away from work-related tasks.
The routine does not need to be complicated. It just needs to signal that the day is ending.
Get Morning Light Exposure
Morning light can help support circadian rhythm and make it easier to feel alert during the day and sleepy at night.
A short walk outside in the morning can also add gentle movement, which may help stiffness and energy.
Review Caffeine Timing
If sleep quality is poor, look at when caffeine is consumed.
Some people do better limiting caffeine after late morning or early afternoon. Others may tolerate it later. The key is paying attention to your own response.
Adjust Late Workouts When Needed
If late workouts are affecting sleep, consider adjusting the intensity, ending with a cooldown, or moving the hardest sessions earlier when possible.
If you can only train at night, that is okay. The goal is to find a routine that helps your body transition afterward.
Improve the Sleep Environment
A dark, cool, quiet room can support better sleep.
Small changes like reducing light, limiting noise, adjusting temperature, or improving mattress and pillow support can make a meaningful difference.
Address Pain That Keeps Waking You Up
If pain is consistently disrupting sleep, it should not be ignored.
Changing sleep position may help temporarily, but if pain continues to interfere with rest, a physical therapy assessment can help identify why symptoms are present and how to reduce irritation.
When Sleep Problems Affect Rehab Progress
Sleep does not need to be perfect for rehab to work.
But if sleep is consistently poor, it can slow progress and make symptoms harder to manage.
Sleep may be affecting rehab if:
Pain feels worse after poor sleep
Recovery between sessions is consistently slow
You feel too fatigued to complete rehab exercises
Symptoms flare with normal activity
Training performance drops despite consistent effort
You need more time than expected to recover from manageable workouts
In these cases, it may be worth looking at sleep as part of the overall recovery plan.
This does not mean sleep is the only issue. But it may be one of the missing pieces.
The Bottom Line on Sleep and Muscle Recovery
Sleep and muscle recovery are deeply connected.
Training creates stress. Rehab creates a targeted stimulus. Sleep helps the body repair, adapt, regulate pain, restore energy, and prepare for the next challenge.
If sleep is consistently poor, recovery can become slower, performance can drop, and pain may feel harder to manage.
For active adults and athletes, sleep should not be treated as optional. It is part of the plan.
You do not need a perfect sleep routine to make progress. But improving sleep quality and consistency can make training, rehab, and injury recovery more effective.
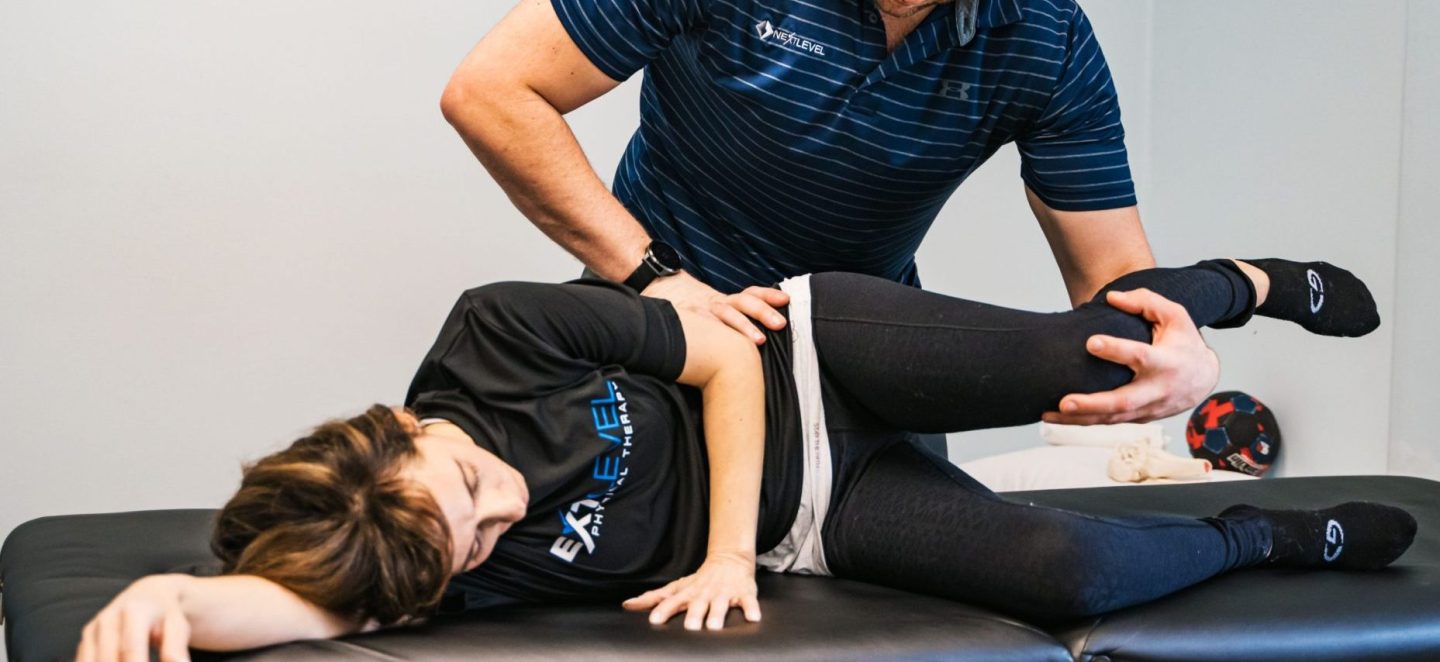
Need Help Recovering From Pain or Injury?
At Next Level Physical Therapy, we help active adults and athletes address pain, recover from injury, and build the strength, movement quality, and resilience needed for long-term performance.
Our approach looks beyond symptoms alone and considers the full picture, including movement, training load, recovery, and the factors that influence how your body heals.
If pain, stiffness, or recurring injury is limiting your ability to train or stay active, our team can help guide the process.
Request an appointment here to learn more about our approach to physical therapy, recovery, and performance.
Read More